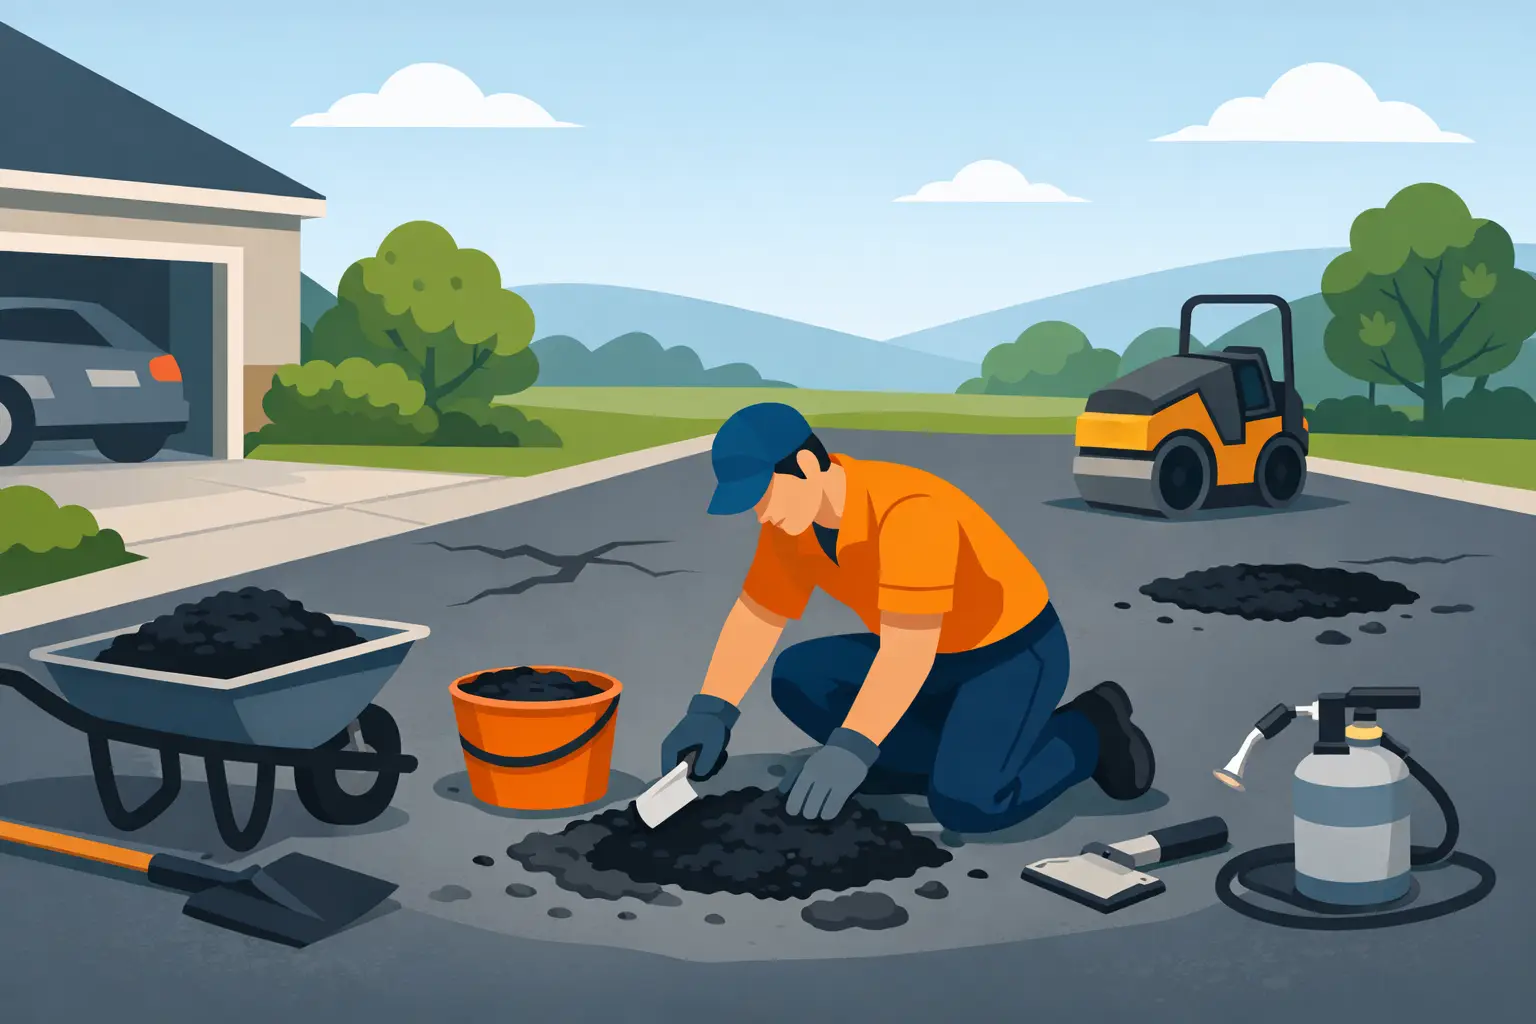
A pothole is not just an eyesore at the end of the driveway. It is an open path for water to reach the base beneath your pavement. Knowing how to repair potholes in asphalt driveway surfaces can stop a small damaged area from becoming a larger, more expensive failure – especially through Pennsylvania’s freeze-thaw cycles.
A proper repair is about more than dropping patch material into a hole and driving over it. The damaged asphalt has to be removed, the base has to be stable, and the new material has to be compacted correctly. Do those things well, and the repair can protect the rest of the driveway. Skip them, and the pothole often returns after the next hard winter.
Why Asphalt Driveway Potholes Get Worse
Most potholes begin with a crack. Rain and melting snow work through that opening, weakening the stone base below the asphalt. When temperatures drop, trapped water freezes and expands. As traffic passes over the weakened spot, the asphalt breaks apart and the hole grows.
Oil leaks, poor drainage, and thin or aging asphalt can speed up the process. A pothole near the garage, at the bottom of a slope, or in a place where tires repeatedly turn deserves prompt attention. Those locations take more stress and tend to hold more water.
Seal coating helps protect sound asphalt from water and UV exposure, but it is not a fix for a pothole. Repair the damaged section first. Once repairs have cured and the driveway is in suitable condition, a professionally applied sealcoat can help protect the surrounding pavement from the same cycle of deterioration.
How to Repair Potholes in an Asphalt Driveway the Right Way
The right repair method depends on the size and depth of the damage. A shallow, isolated hole may be a reasonable do-it-yourself project with quality cold patch and careful compaction. A deep hole, crumbling edges, standing water, or several potholes in one section usually points to a base issue. That calls for a more thorough professional repair.
Start with a dry, clean work area
Choose a dry day when the pothole is free of standing water, ice, loose leaves, and mud. Sweep or blow out all debris. Patch material cannot bond or compact properly over loose material or wet soil.
Use a stiff broom, shovel, pry bar, or scraper to remove broken asphalt from inside the hole. Keep clearing until you reach firm edges and stable material below. If the sides are feathered, soft, or crumbling, square them up as much as practical. Solid vertical edges give the patch a better chance of staying in place.
Check the base before adding patch material
Look at the bottom of the hole. If it is firm and mostly level, you may be able to proceed with asphalt patch. If you find soft mud, loose stone, or an area that continues to sink under pressure, the base needs attention first.
Remove the unstable material and replace it with clean crushed aggregate. Add it in thin layers and compact each layer with a hand tamper or plate compactor. The base should be firm and slightly below the surrounding pavement so there is room for asphalt patch material.
This step is where many quick pothole repairs fail. Asphalt cannot make up for a weak foundation. The Eagle Standard is to address what caused the hole, not simply cover what is visible from the surface.
Choose the patch material for the season and repair size
Cold patch asphalt is widely available and useful for smaller repairs or temporary winter fixes. It can be installed without heating, making it practical for homeowners. The trade-off is that cold patch needs serious compaction and may not match the durability of a professionally installed hot-mix repair.
Hot-mix asphalt generally provides the strongest long-term repair when conditions allow. It is installed warm, shaped, and compacted to create a dense patch that ties into the surrounding driveway. Because hot mix must be handled and compacted quickly, it is often best left to an asphalt contractor.
For a shallow surface depression rather than a true pothole, an asphalt leveling material may be appropriate. Do not use loose gravel, concrete mix, or ordinary blacktop sealer as a pothole repair. They do not move and flex with the driveway the way asphalt should.
Fill in lifts, not one oversized mound
Place asphalt patch in the hole in layers of about 2 inches, compacting each layer before adding the next. This matters most for holes deeper than 2 inches. A thick, uncompacted mass can settle later, leaving a low spot that collects water.
Build the final layer slightly above the existing driveway surface – generally about a half inch to an inch, depending on the patch material and compaction method. The patch will compress as you tamp it down. Shape it so water will continue to drain away rather than pool at the repair.
Compact until the repair is dense and flush
Compaction is the difference between a patch that lasts and one that breaks apart. A hand tamper can work for a very small pothole. For a larger repair, a vibrating plate compactor provides more consistent pressure and a better finish.
Compact around the edges as well as the center. The finished patch should be tight, level with or just barely above the existing asphalt, and free of loose aggregate. If you are using cold patch, slowly driving a vehicle over the repair with a sheet of plywood on top can add compaction, but it is not a substitute for properly tamping the patch first.
Give the patch time to settle according to the product instructions. Avoid sharp turns, hard braking, and heavy loads on the fresh repair until it has firmed up.
When a Pothole Needs More Than a Patch
A patch is effective when the damage is isolated and the surrounding asphalt remains structurally sound. It is not the right answer for every driveway problem.
Call a professional if the pothole keeps returning, the pavement around it feels spongy, or cracks spread in several directions from the damaged area. Those signs can indicate failing base material, drainage problems, or widespread asphalt fatigue. A surface-only repair in that situation may look better for a short time, but it will not stop the underlying movement.
Alligator cracking is another warning sign. This pattern looks like a series of connected, broken shapes across the surface. It means the asphalt structure has lost strength. The proper repair often involves saw-cutting and removing the failed section, rebuilding the base if necessary, and installing new asphalt at the correct depth.
The same applies when a pothole sits in an area that carries regular heavy vehicles. Delivery trucks, trailers, and commercial traffic put far more force on pavement than passenger cars. A stronger, full-depth repair can prevent repeat damage and protect safety.
Protect the Repair and the Rest of Your Driveway
Once the pothole is repaired, make drainage your next priority. Keep downspouts from discharging directly onto the driveway, clear debris from the pavement edge, and address low areas where water stands after rain. Water is asphalt’s most persistent enemy.
Watch for new cracks and have them sealed before they widen. Small crack repairs are far less disruptive and less costly than removing failed pavement. Regular seal coating, applied to properly prepared asphalt, adds another layer of defense against sun, moisture, oxidation, and everyday wear while restoring the clean black appearance homeowners want.
Timing matters. Repair potholes as soon as conditions allow, rather than waiting for the hole to expand through another season. A modest repair today can preserve the base, prevent tire damage, reduce trip hazards, and help you avoid a larger replacement project later.
If your driveway has a single clean pothole, a careful patch may be all it needs. If the surface is breaking down in several places, the smartest move is an honest assessment of the base, drainage, and overall pavement condition. Every repair should protect the driveway you have now and give it the best chance to last through the seasons ahead.
Need Help With Your Driveway?
Get a free, no-obligation estimate from Eagle Seal Coating. We'll give you an honest recommendation — no pressure.
Get My Free Estimate →